
A checklist for Bay Area teachers
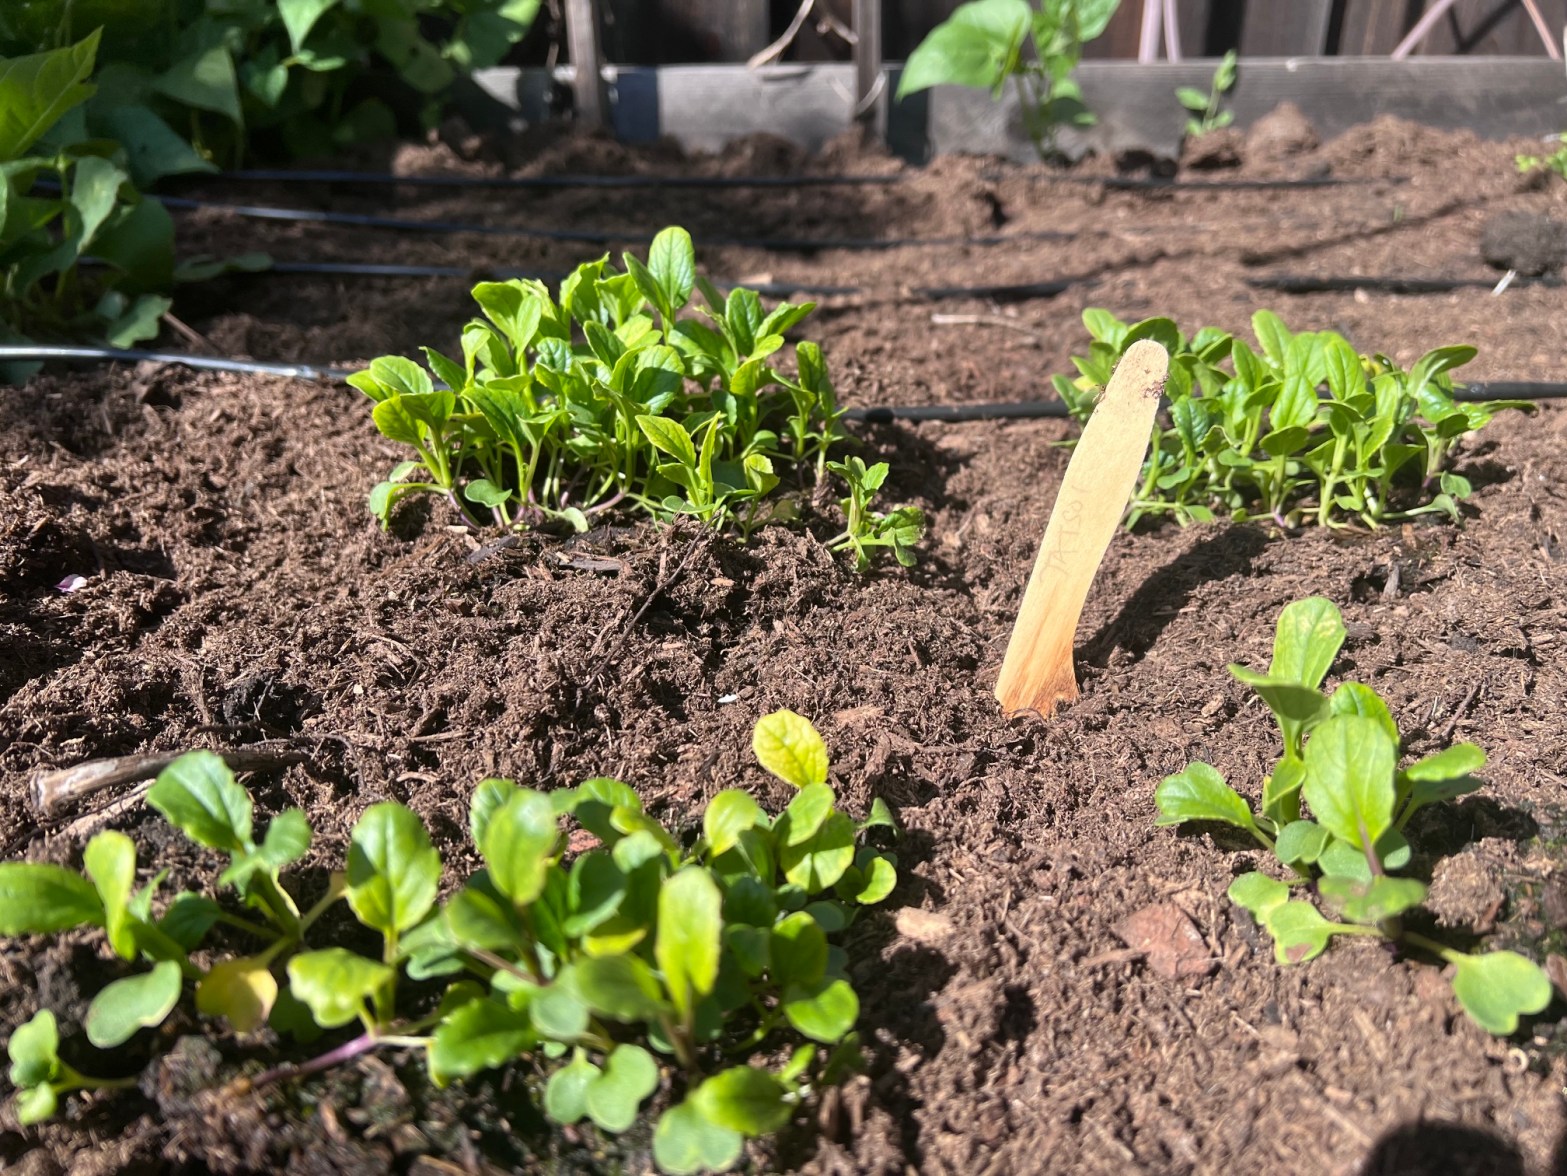
If you teach in the Bay Area, you have a head start most of the country doesn’t: you can grow food outdoors almost all year. Fall is the best time to begin. The rains do some of your watering, cool-season crops are forgiving, and you’ll harvest before spring testing season takes over the calendar.
Most school gardens don’t fail because of soil or pests. They fail because one teacher carries everything, then summer arrives and no one waters. This checklist is built to prevent that. It covers six phases, from getting a yes from your principal to serving your first harvest.
At Climate Roots, we’ve built three gardens and grown several culinary, medicinal, and ornamental plant varieties. Everything below comes from what worked, and what we’d do differently.
Phase 1: Build your team and get approval
A garden needs a core team of at least three adults before the first shovel goes in. One person is a project. Three people is a program.
- Recruit your core team. Aim for two teachers plus one parent or community volunteer. Add a custodian or facilities lead early; they control water access, keys, and weekend security.
- Recruit student leaders. Ask 4 to 6 students to own specific jobs: watering schedule, seed inventory, social media, harvest log. Ownership is what keeps a garden alive.
- Write a one-page proposal. Cover the purpose, location, size, cost, who maintains it, and how it connects to what students are already learning.
- Meet with your principal. Bring the proposal. Ask for three things: a site, a small budget line or permission to fundraise, and a named point of contact in the front office.
- Loop in district facilities. Many Bay Area districts require facilities sign-off for anything built on campus, including raised beds and irrigation. Ask now; it can take weeks.
- Check your district’s volunteer rules. Parents and outside mentors often need a volunteer application, TB clearance, or fingerprinting before working with students.
Phase 2: Choose and prepare the site
The right site gets 6 or more hours of direct sun, sits within reach of a hose bib, and is visible from classrooms. Visibility matters more than people expect: a garden students walk past every day gets cared for.
- Map sun and shade. Check the spot at 9 a.m., noon, and 3 p.m. Watch for shadows from portables and buildings, which get longer in winter.
- Confirm water access. Find the nearest spigot and confirm it’s on and unlocked. Carrying water across campus will end your garden by October.
- Test the soil before growing in the ground. Bay Area campuses near older buildings or busy roads can have lead in the soil. Send a sample to a soil lab, or skip the question entirely by building raised beds with clean soil.
- Default to raised beds. They drain well in our clay soils, keep little feet off the plants, and can be built at wheelchair height for accessibility.
- Plan for security. A simple fence or gate deters weekend visitors and animals. Ask facilities what’s allowed.
- Start small. Two or three 4 x 8 ft beds is plenty for year one. You can always expand; it’s much harder to shrink a garden that’s overwhelming your team.
Phase 3: Plan what to grow
Plant for the school calendar, not the garden catalog. The classic mistake is planting tomatoes in May that ripen in July, when no one is on campus to eat them. In the Bay Area, cool-season crops are your best friend: they grow from fall through spring, exactly when students are there.
Between Sep – Nov, you can plant lettuce, radishes, kale, chard, peas, carrots, fava beans, and garlic.
- Pick 5 to 8 crops for year one. Favor fast growers (radishes in about 4 weeks) so students see results early.
- Grow at least one thing students already eat.
- Use a local planting guide. Microclimates vary between San Francisco fog and San Jose heat. Our Fremont Planting Guide is a good starting point for the East Bay and South Bay.
- Add native plants and flowers. Pollinator plants bring bees and butterflies, and give science classes something to observe year-round.
Phase 4: Fund it
A starter garden of two or three raised beds typically costs $500 to $1,500 (our estimate), and small grants can cover most of it. Stack two or three small grants rather than waiting on one large one.
- Apply for grants closing this fall first. These two grants close in early October: WaterWise Garden Grant and CalCoastCU Cares Foundation Grant.
- Ask your school nutrition director about the cafeteria fund. California guidance lets schools use cafeteria funds for garden supplies when the garden supports the school meal program (CDE).
- Ask your PTA or PTO. A garden is an easy yes for parent groups: visible, hands-on, and photogenic.
- Request in-kind donations. Local nurseries and hardware stores often donate soil, lumber, or seeds for school projects.
- Take photos from day one. Nearly every grant asks for them, and so will your next funder.
Phase 5: Plant, water, and sustain through summer
Water is the single biggest reason school gardens die. Solve it with automation, then build a people plan for the weeks automation can’t cover.
- Install drip irrigation on a timer. A basic drip kit and a battery timer on the hose bib keeps beds alive over weekends and breaks. Mulch the beds to cut water use further.
- Turn watering into a tech project. Soil moisture sensors and a simple microcontroller let students track, graph, and eventually automate watering. This is where gardening meets coding, and it’s the kind of project our students built into the Climate Roots greenhouse.
- Post a weekly job chart. Rotate classes or student teams through watering, weeding, and harvest checks.
- Start a compost bin. Use fruit and vegetable scraps and garden trimmings only. Keep meat, dairy, and cafeteria waste out; USDA guidance warns animal products can introduce pathogens (USDA).
- Make a summer plan by April. Choose one: recruit “garden families” to adopt a week each, partner with a summer program on campus, or put the beds to rest with a cover crop and thick mulch.
- Set garden rules with students. Closed-toe shoes, tools pointed down, wash hands after, ask before you eat. Post them at the gate.
Phase 6: Harvest safely and connect it to learning
The USDA does not prohibit serving school garden produce in school meals, but your school nutrition director makes the call (USDA). Talk to them before your first harvest, not after.
- Agree on harvest rules with food services. Clean, food-grade bins only; never trash bags or containers that held chemicals. Toss produce with bird droppings or animal bites.
- Check with your county health department. Some local policies add requirements for classroom tastings or cafeteria use.
- Use California’s food safety toolkit. CDFA’s Farm to School Food Safety Toolkit includes a section on school gardens.
- Map the garden to standards. Plant life cycles, soil and water systems, and ecosystems (NGSS life and earth science), measurement and data (math), and nutrition (health).
- Keep a harvest log. Students weigh and record every harvest. It’s real data for math class and powerful proof for your next grant.
- Celebrate. A harvest tasting, a salad day, or a family garden night turns a class project into a school tradition.
Phase 6: Harvest safely and connect it to learning
The USDA does not prohibit serving school garden produce in school meals, but your school nutrition director makes the call (USDA). Talk to them before your first harvest, not after.
- Agree on harvest rules with food services. Clean, food-grade bins only; never trash bags or containers that held chemicals. Toss produce with bird droppings or animal bites.
- Check with your county health department. Some local policies add requirements for classroom tastings or cafeteria use.
- Use California’s food safety toolkit. CDFA’s Farm to School Food Safety Toolkit includes a section on school gardens.
- Map the garden to standards. Plant life cycles, soil and water systems, and ecosystems (NGSS life and earth science), measurement and data (math), and nutrition (health).
- Keep a harvest log. Students weigh and record every harvest. It’s real data for math class and powerful proof for your next grant.
- Celebrate. A harvest tasting, a salad day, or a family garden night turns a class project into a school tradition.
You don’t have to do this alone: start a Climate Roots School Chapter
Climate Roots School Chapters turn your garden into a student-led climate hub, backed by our curriculum, resources, and mentors. You bring the students and the site. We bring the playbook.
What chapters can build
- School gardens and hydroponic greenhouses
- Composting programs
- Student-led climate fairs
- AgTech workshops that combine growing food with sensors, automation, and coding
Who it’s for
Bay Area K to 12 teachers, administrators, and student leaders who want hands-on climate education on their campus. No gardening experience required.
How to start
Tell us about your school via the Contact Us form and we will be in touch with next steps.

