PS #26: Wrapping Up The Dome

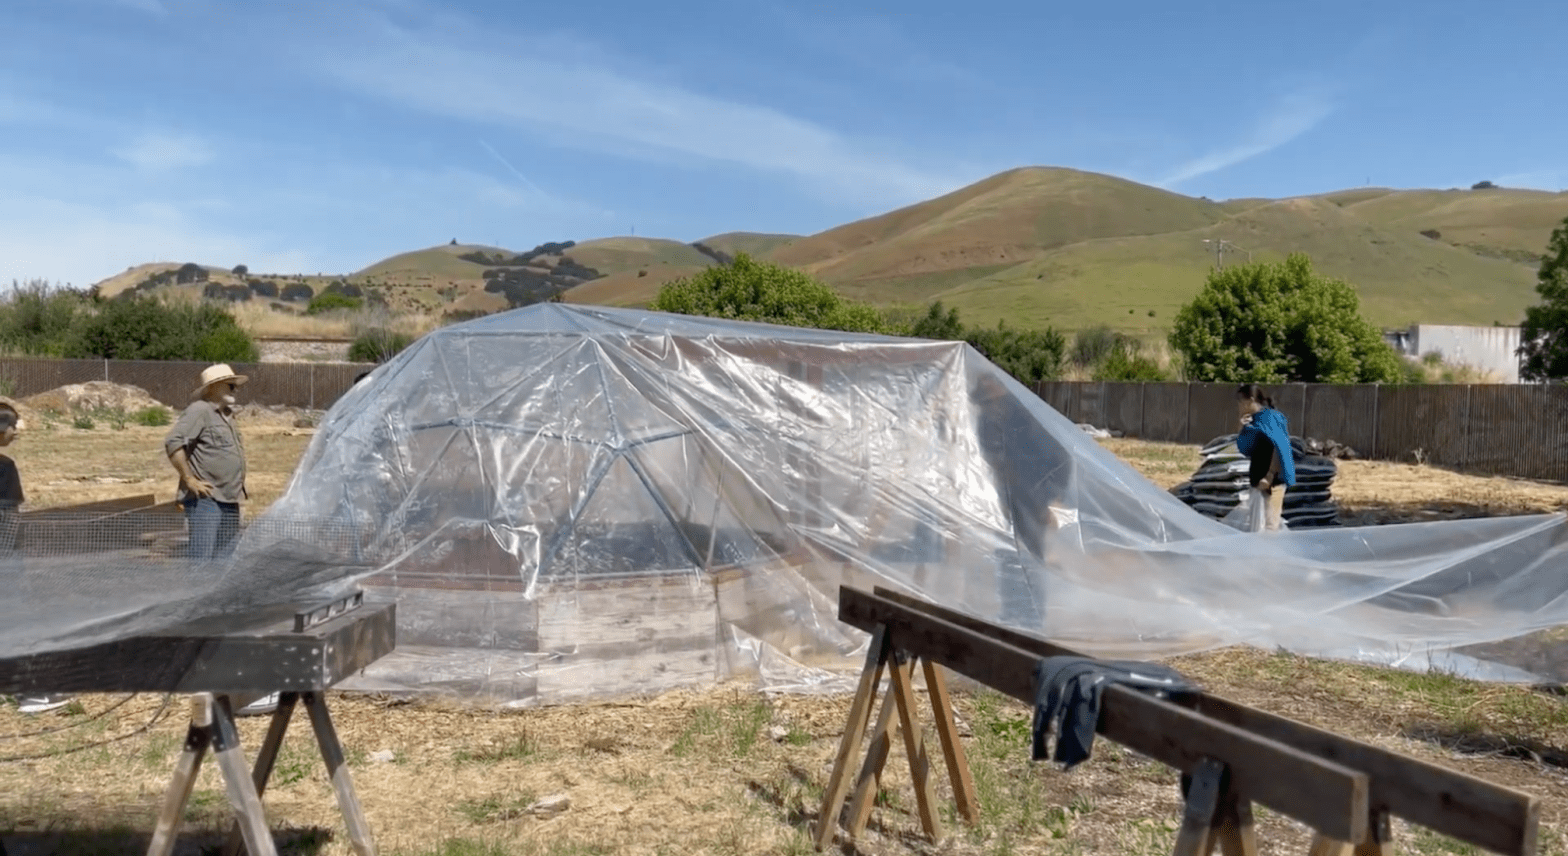
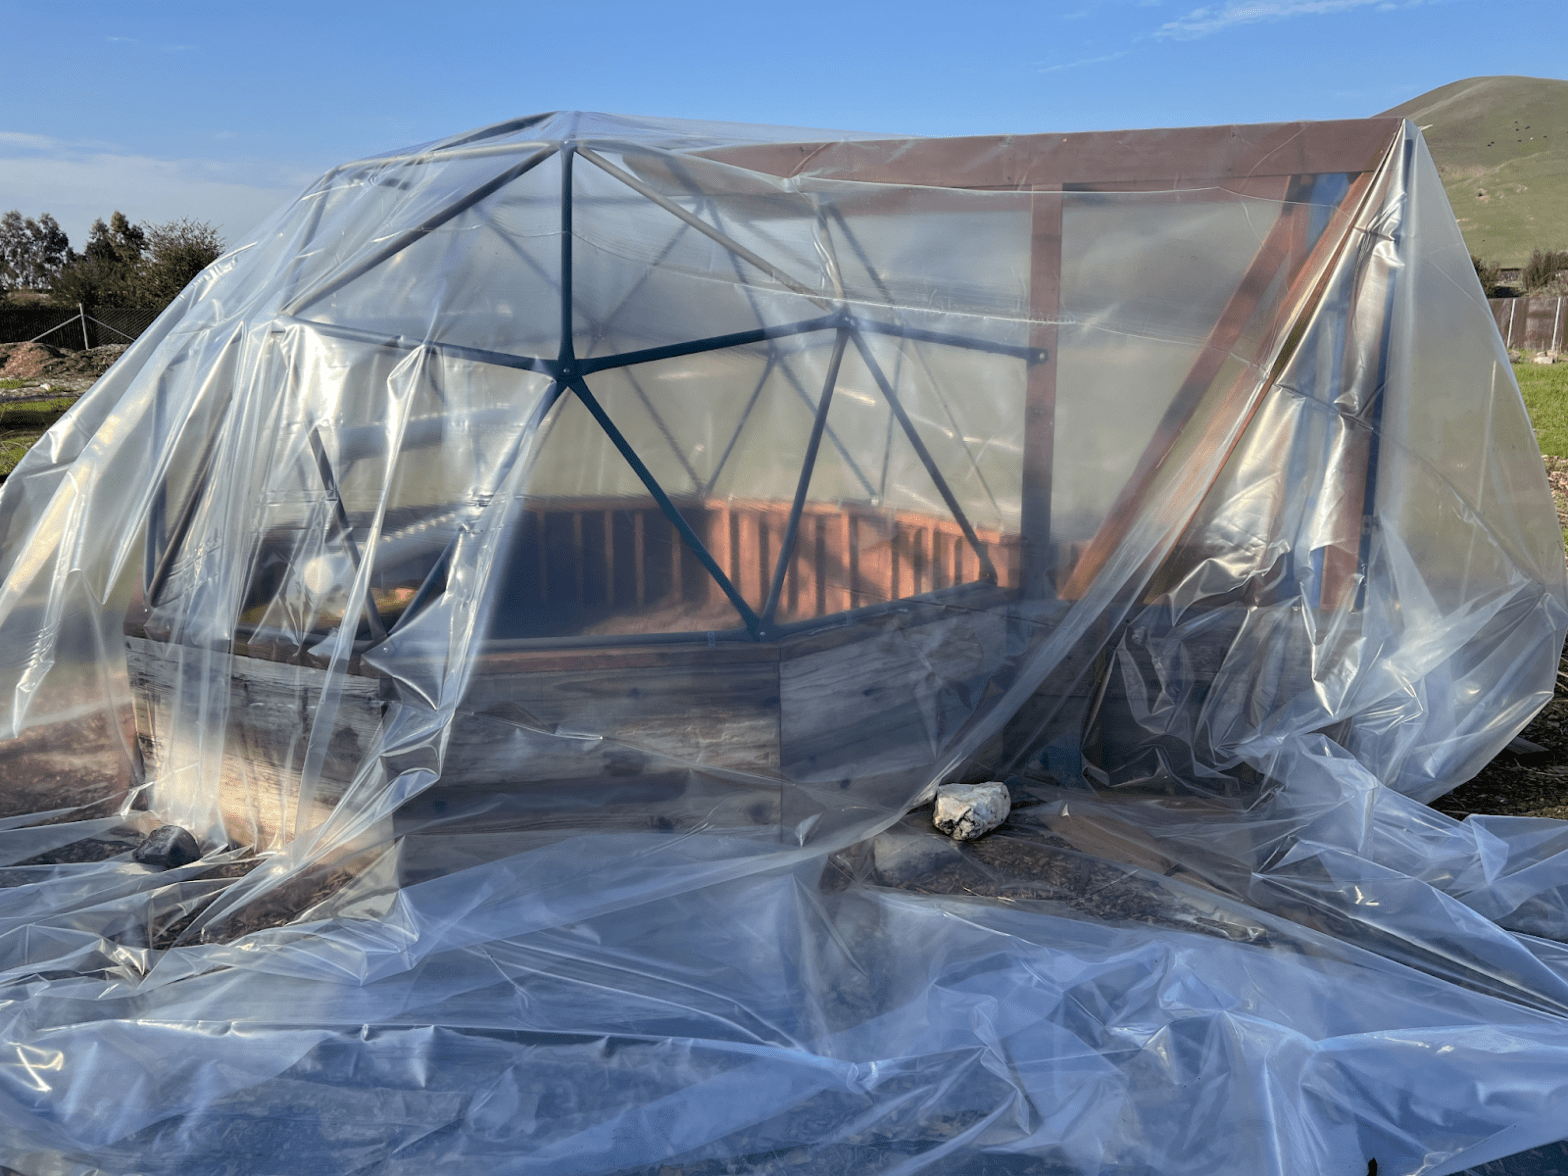
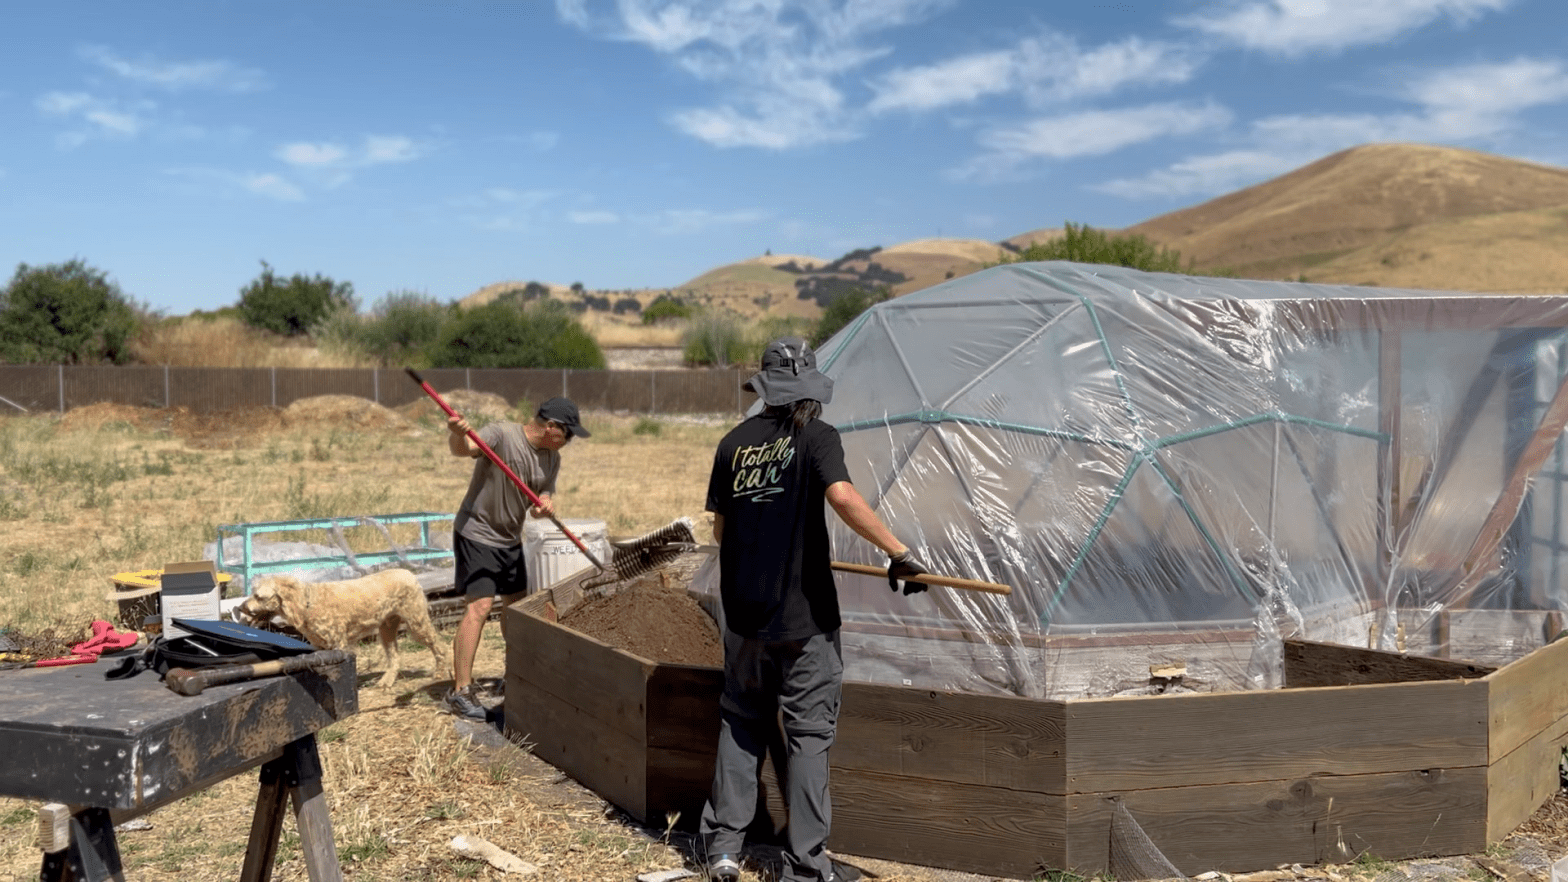
Today, we finally finished wrapping the greenhouse. After multiple trials, failures, rips, and tears, we were able to secure the plastic shrink wrap. The first time we tried to shrink-wrap the greenhouse, it failed horrendously. To start, we weren’t used to the heat gun, so the wrap was inconsistent in many places over the dome. In some places, the plastic was too tight, making it rip if a slight gust of wind hit it in the wrong area, and too loose in other places, causing it to sag and form big bubbles. Today, we practiced using the heat gun on extra pieces of wrap under the guidance of Jerry to prepare us for the actual dome. After we felt ready, we removed the old wrap and threw another plastic wrap over the dome. Then, everyone took turns using the heat gun and walking around the dome, making sure that we were consistently applying heat to all areas. Once it was done, we stapled the bottom of the wrap to the inner wall of the greenhouse.

Next, Jerry used his tractor to haul dirt to the space between the inner wall and the outer wall. Each time he drove back to scoop up more dirt, we used rakes to even out the dirt and spread it evenly throughout the entire space. We plan on growing flowers and other plants here to enhance the aesthetics of the dome and make it look pretty.

Keep calm and keep growing!
PS #25: Brick and Order

Today we decided to work on the more decorative side of our greenhouse.

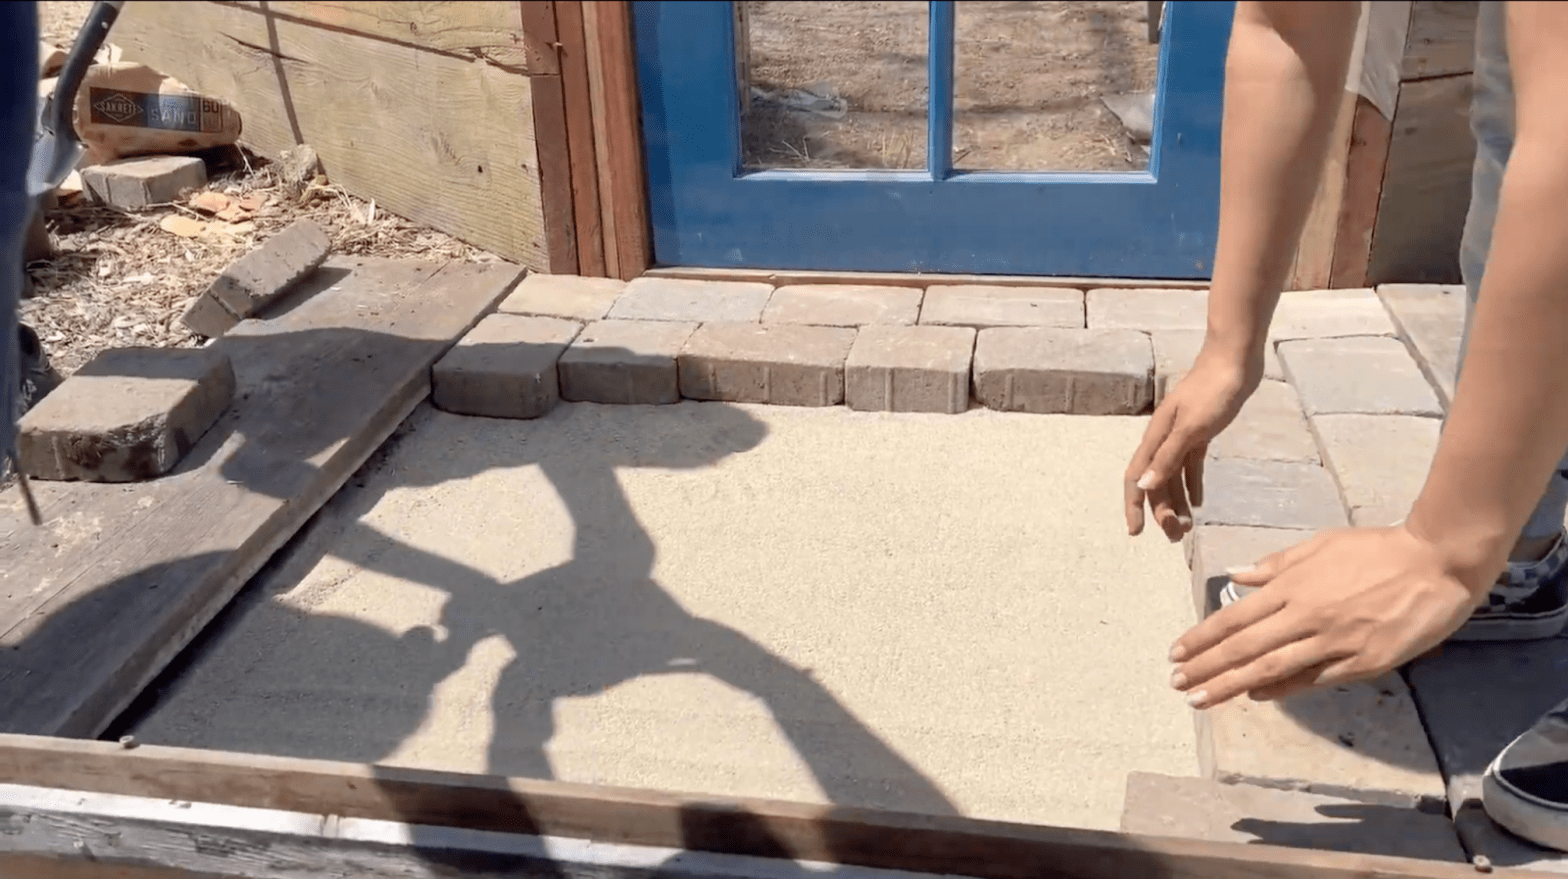
With the door finished recently, we wanted to spruce up the look of the entrance to make any guests feel right at home. The doorway is also a bit higher than the ground, so we don’t want anyone to trip over it, especially when transporting heavy or cumbersome equipment.

We were allowed to use these old bricks by the port-a-potty area for our design. We had to take them out ourselves and then we had a few people transporting them to the greenhouse which was on the complete opposite end of the garden. Sure, we got to use wheelbarrows, but it still took a few trips and some focus to complete.

After we transported all of the bricks, we moved on to the design part. We set up a palette and got to work trying to arrange the bricks to look nice. There were a few different types of sizes that the bricks came in and at different counts too, so this process took a while until we found a design that satisfied us. We then worked to clear the space in front of the door. We used sand to help keep the floor as level as possible as it would conform to the placement of our bricks and we filled the gaps between the bricks with it after completing the design. With the entrance done our greenhouse looks a bit more presentable and closer to being finished.

Grow with the flow!

PS #24: How can We Utilize Our Outside Bed?

With the completion of the outer wall, we now have a space that can be used as a big plant bed to grow alongside the hydroponics system. Now we have to decide which plants to grow there.

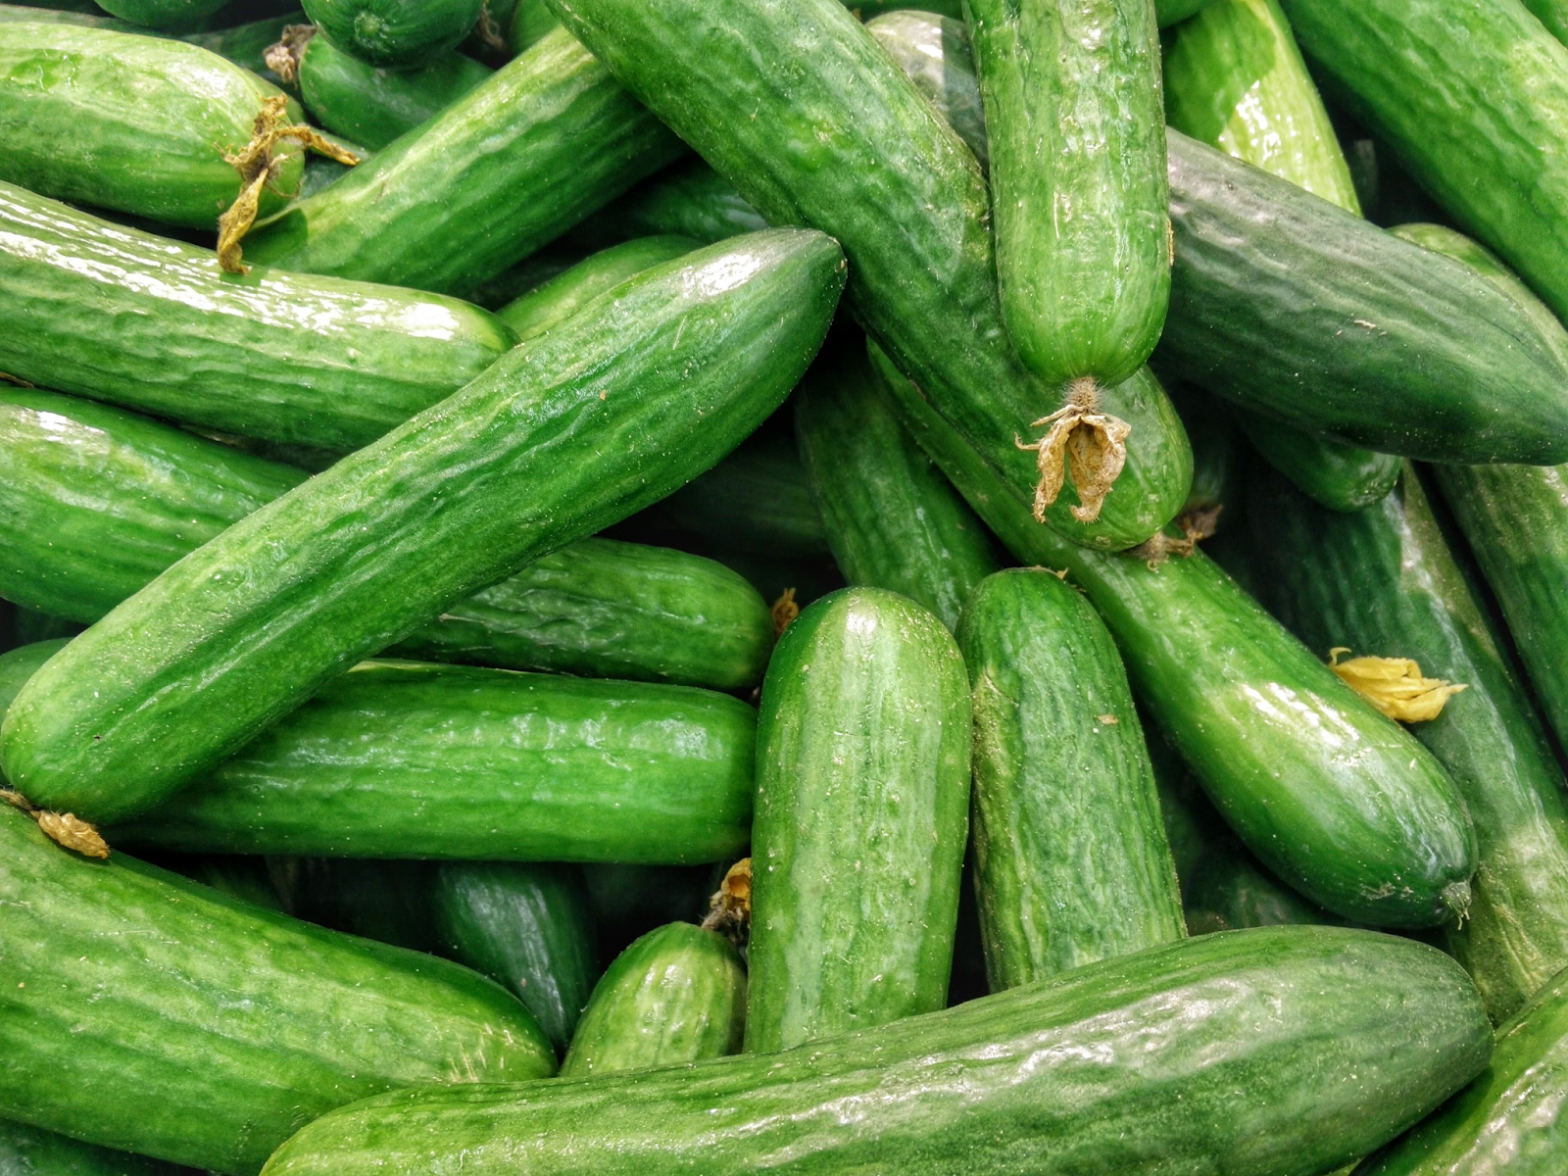
Since the point of greenhouse is to continuously grow throughout the year, we want to look at year round plants for the bed. The thing is that since it is year round, we need crops that can handle a large range of temperatures and conditions. These are the plants I mentioned in the last article which are going to be more useful here than in the hydroponics system. Many root plants are able to tough out the winter, so that includes plants like carrots, beets, and radishes. We are able to change plants after harvest, so we also want to look at plants more suited to the hotter temperatures of the summer, like peppers, cucumbers, and tomatoes. We still haven’t finalized the choice for what we will plant in the outside bed, but since we have so many possible choices, we could even cycle through all of them over time.

Harshal S. Hirve, unsplash.com, 12/4/2015, https://unsplash.com/photos/cucumber-lot-2GiRcLP_jkI

Nick Fewings, unsplash.com, 12/9/2021, https://unsplash.com/photos/a-pile-of-carrots-sitting-next-to-each-other-d9gDUaDpnes

Grow with the flow!

PS #23: Which Plant is Best for Our Hydroponics System?

We want to find the most optimal plants to grow in our hydroponics system to make it as efficient as we can.

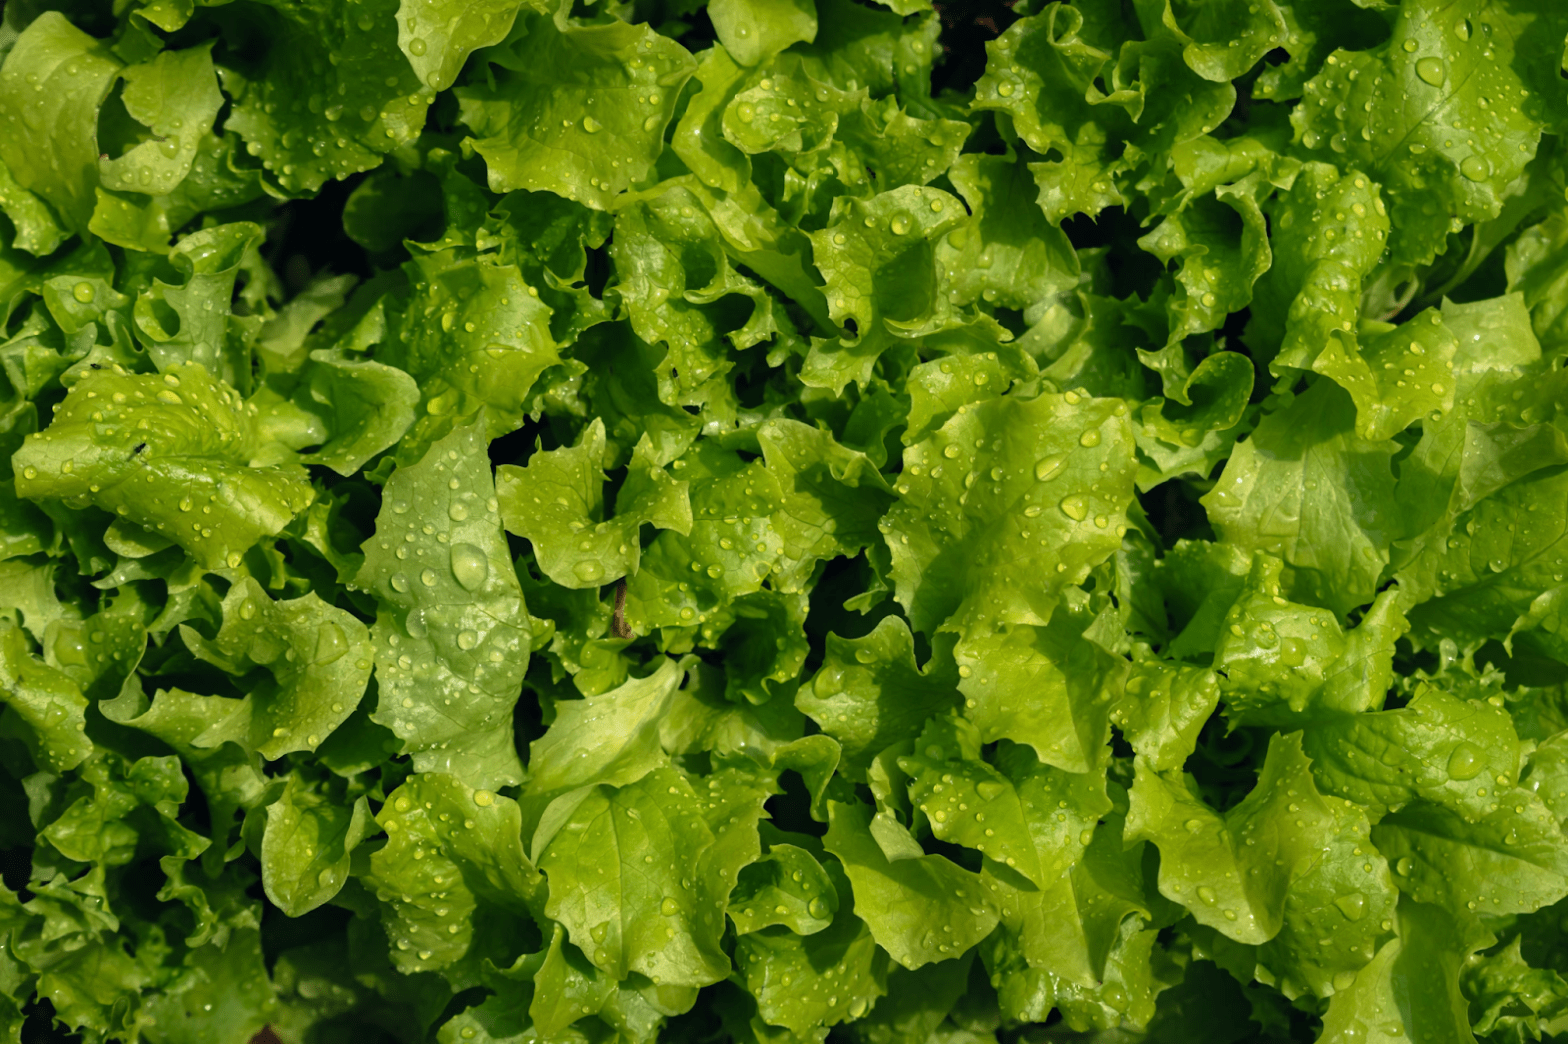
All sorts of plants are actually suitable to grow in hydroponics systems, but different plants work better with specific systems. With the way ours is configured, we should avoid vine plants and since we are using hydroponics, we want to make use of its ability to grow plants under stable conditions, so we will try to avoid tougher crops. We will have another use for those plants later. Some of the most popular hydroponics plants are the leafy greens, with lettuce being a big one. We want to grow commonly eaten plants, so we were considering ones like strawberries, but we ultimately decided on lettuce for its versatility and low maintenance. 

Nikolett Emmert, unsplash.com, 8/21/2023 https://unsplash.com/photos/a-close-up-of-a-bunch-of-lettuce-VxQKNqRZux4

Henry & Co., unsplash.com, 2/20/2018, https://unsplash.com/photos/strawberries-in-shallow-focus-rfK7qmyPOEg

Grow with the flow!

PS #22: Reinforcing the Greenhouse Walls

Now with the outer wall completed last week, we want to add a bit of support to it. The plan is to split the space between the inner and outer walls into a large plant bed and then two side storage spaces. The two storage spaces would be in the different parts of the walls being the space formed by the hallway walls and closing outer walls. We cut wood walls to fit in the space, stained them, and screwed them into place. One of the storage spaces would be used for our water tank that would feed into the hydroponics system. So far, the other space is still undecided, but we may use it for another system in the future.

Grow with the flow!

PS #18: Extended Break

Today’s Build Day was supposed to be our grand return after our break for the winter. Mind that I said “supposed to.” Unfortunately, it was reported that the winds of the winter had done quite a number on the LEAF garden. The roofs of the several greenhouses were blown off, including ours, and there was general damage all over the site. The most serious damage, though, was that some electrical equipment was exposed to water, which forced the garden manager to shut down all power in case it happens again with possible forecasted rains. It sucks that our return is delayed, but we will come back even more prepared next week.

Grow with the flow!

PS #17: Wrapping the Greenhouse Pt. 2

Recovering from our failure from last Build Day, we were ready to tackle the shrink wrap cover again.

Because the heat contracts the wrap at just the location it is applied, it pulls the surrounding parts of the shrink wrap in. The process of properly shrinking around the whole dome is quite delicate as it requires us to move the gun up and down and around its surface to spread the heat as evenly as we can. We also have to make sure to keep a certain distance away from the surface of the shrink wrap so that it is heated enough to shrink, but also not so close that we burn a hole in it.

Keeping this in mind, we began our second attempt at covering our greenhouse. We bathed the shrink wrap in heat, making sure to keep everything as steady as possible and, in the end it wasn’t perfect, but we succeeded.

As we were finishing the shrink wrap up, we secured it by stapling it to the walls with pieces of cardboard overlaid. This lets the staples hold the shrink wrap down, while not tearing it because of the increased surface area of the cardboard. With this done, we could begin work outside the dome, but that will be saved for after we take a break for the winter.

Grow with the flow!

PS #16: Wrapping the Greenhosue

Today is an exciting day! We finally get to cover the greenhouse with the shrink wrap. For any greenhouse to work, you need insulation to help stabilize the temperature. We chose to use shrink wrap because it allows us a greater degree of freedom when covering our uniquely shaped greenhouse.

The way shrink wrap works is that it reacts to heat by shrinking in the exposed area. We had to unpackage the shrink wrap kit, which came with a heat gun and a giant length of shrink wrap. It was so large that we needed at least 5 or 6 people just to unfold it so that we could measure it to see how much we had to work with. It was quite large, so we should be able to get 3 tries out of it before we run out. The heat gun is more reminiscent of a flamethrower with its long body, big handle, and the fact that it connects directly to a propane tank.

We cut off some small pieces to test how quickly and much the heat gun shrinks the wrap and then once we felt comfortable, we attempted to clothe the greenhouse. We had to make a large cut through the length of shrink wrap and with that piece, begin to pull over the dome. We wanted to be as secure as possible, so everyone but the heat gun wielder held the shrink wrap in place. Things were going well, the shrink wrap was tightening around the dome, but then disaster struck; there was now a hole in the wrap. We had to abandon this piece as the insulation has to be airtight. The day was coming to a close, so we had to try again next time.

Grow with the flow!

PS #14: ACWD Interviews

Build Day this week had a performative twist. Aman, our project manager, alerted us to the ACWD WaterClips Student Video Contest. This is a contest where middle and high schoolers send in videos about chosen topics under water conservation to the Alameda County Water District.

While some of us carried out tasks like dismantling planter boxes, a few others tested their speaking skills through practicing for the ACWD contest. Of course we didn’t leave the labor to one group and rotated people periodically.

Overall, recording for AWCD was a blast and educational experience. Being able to talk coherently, whether 1-on-1 like in an interview or a casual conversation or to a group like in a video or a speech, is an important skill to have.

Grow with the flow!

PS #15: How Much Food can the Hydroponics System Grow?

When you create a system, such as our hydroponics greenhouse, you want to plan it out with a model first. For our model, we will just be looking at how much food the hydroponics system should theoretically be able to produce in a year. First, we need to find the value of all our variables for the model, which are simply the number of lettuce and growth period. 

We will be producing butterhead lettuce of which the growth period is about 50-60 days, so let’s just call it 55 days. Now, we can find the number of lettuce by dividing the length of our pipe by the growth space of one head and then multiplying by the amount of pipes. If our pipe is 52 inches long and a head of butterhead lettuce requires 8 inches diameter to grow, then we can grow about 6 heads per pipe, which multiplied by 3 pipes is 18 heads of lettuce. 

With the number of lettuce the system can grow at once and the growth period, we know that it can grow 18 heads every 55 days. Since there are 365 days in a year, we reach the conclusion that we can grow an average of 120 heads of lettuce per year.

Grow with the flow!